Cryoaligner (Cryostat Alignment Tool)


Instructions for Aligning the Chuck and Blade Holder
Always wear gloves when working on a Cryostat
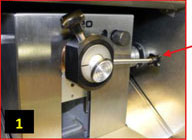
Chuck is out of alignment.
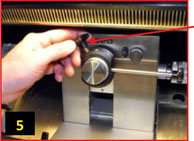
Loosen clamping adjustment knob and remove tissue chuck.
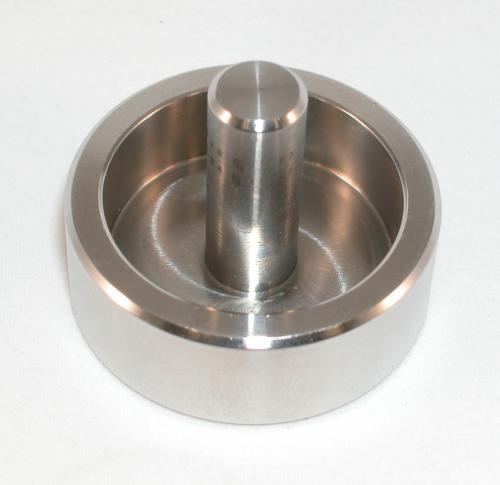
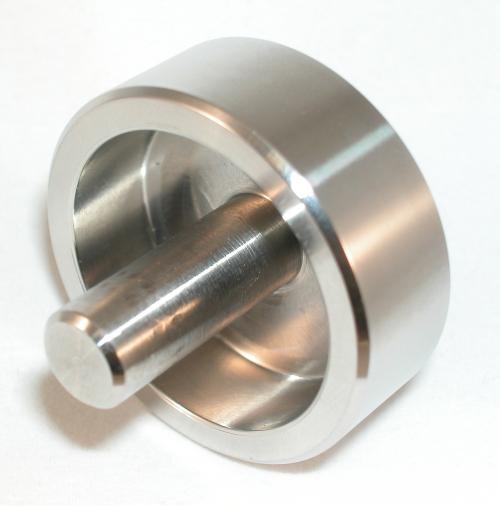
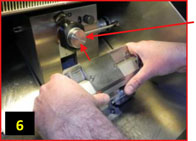
Replace tissue chuck with CryoAligner tool.
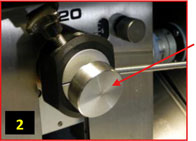
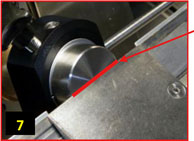
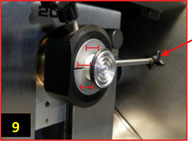
Loosen both the orienting & clamping adjustment knobs to position tool.
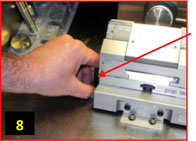
Press the CryoAligner tool flush against back surface and tighten the clamping adjustment knob.
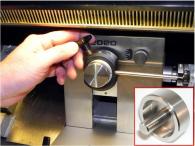
Tighten the orienting adjustment knob to lock in new alignment.
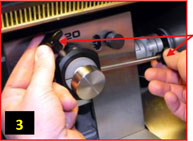
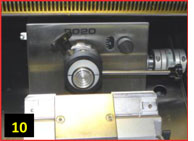
Position blade (w/out blade) to start moving towards CryoAligner’s front flat surface.Remove blade from blade holder before proceeding with this step.
GENTLY bring the blade holder surface against the CryoAligner tool’s surface so that it is perfectly aligned & flush.Be very careful when bringing the blade holder’s metal surface to the Cryo-Aligner’s surface to prevent any possible damage.
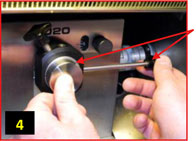
Tighten placement knob to secure aligned position of the blade holder to the CryoAligner tool.
Loosen clamping adjustment knob and remove the CryoAligner tool and replace it with the tissue chuck. Tighten the clamping adjustment knob & the tissue check will be in perfect alignment to the base assembly.
Tissue Chuck & Blade Holder in PERFECT ALIGNMENT!